None of us wants to grow old, let alone talk about aging – but give me a neat clean piece of cardstock and the first thing I want to do is age it. Aging is taking new things and making them look older - this style of scrapbooking doesn’t have to be used only on heritage photos – but can also give more modern looking pictures that well loved, much handled look. So give up on the age defying lotions and start vintaging up your creations.
As with most distressing supplies you need to look no further than your basic supplies – or the toolbox, or even the hardware store. Sandpaper is the first basic supply you will need – it can be used to tone down the colour of things that are too bright – patterned paper and stickers – Sandpaper also creates a texture that is appealing. Paint and inks would be your next supplies – again these can be used to tone down the colour.
As to the techniques that you can combine with the above supplies – Crumpling, inking, tearing, rolling, sanding, whitewashing, scraping, are just a few – lets get started on learning some of these.
Techniques focus on
Crumpling- as the name suggests simply crumple (screw up) then gently uncrumple continue doing this till desired effect is created – this can be enhanced by wetting the cardstock with a spray bottle first.
Inking/Dry brushing - these can both have the same or similar effect – resemble a sanded finish. Inking – rubbing the inkpad across the crumpled paper – leaves the ink sitting on the ridges of the cardstock. Dry brushing – lightly brushing a brush with little paint on it across the ridges of the cardstock.
Tearing - Direction is the key here as the direction that you tear will affect the way your paper tearing looks. When you hold your paper with one hand, and pull towards you, you will see that each side of your paper has a different torn look. One side will have a “feathered edge”, and the other side will have a Straight edge and the “inside” of the paper will not be visible. Both versions of paper tearing are perfectly acceptable and each can bring a unique look to your pages.
Rolling - run a little water across the torn edge, to soften the paper slightly. Then go back to preschool (remember the play dough sausage rolling action) and do the same action on the edge of the paper.
 Scraping – such a technical name – is basically running your fingernail OR the edge of a pair of scissors or ruler along the edge of the cardstock. To add to the distress combine your inking with this technique. Most of you may possibly have the now discontinued Heidi Swapp distresser which makes this technique very simple
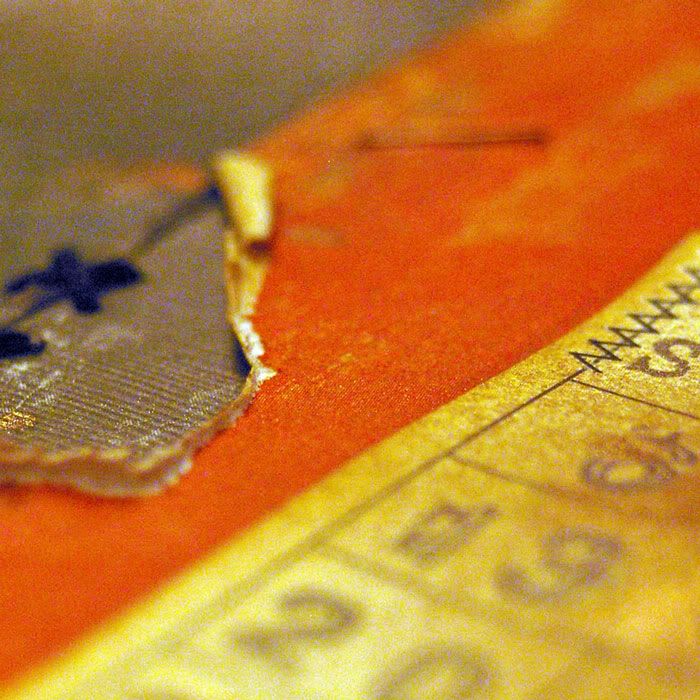 Sanding - Select a piece of fine or medium-grade sandpaper, keeping in mind that delicate papers probably won’t benefit from the abrasive grit found on the coarser grades. Once you have selected your sandpaper you can use it as firmly or as lightly as you want. Begin with papers and card and then when you’re feeling a bit more confident, why not try sanding photos! Yes, you heard right, your photos! Instead of cropping a photograph, try sanding everything in the shot except the focal point. This will draw the viewer’s eye into your subject without the distraction of the background. Alternatively, sand the edges of the photograph to create a unique frame. (This would have to be one of my favourite techniques mixed with the scraping)
White washing – just as with furniture, brush a watered solution (ink consistency) of paint onto your cardstock – layering up till the colour you require is achieved.
Walnut ink comes in a granula form - dissolves in water and can be applied either by toothbrush, paintbrush, total immersion, or mist spray bottle – of all these I prefer the mist spray – I seem to have more control over the depth of colour I choose. - Or use the darker tones of the very trendy Glimmer Mist to get similar effects.
Recycle – recycle a cardboard box – use the corrugation and add to the page for a more rustic look include the staples from the box. Using the simple techniques discussed above, basic tools and creativity, you’ll easily be able to create that vintage/aged look you have been longing for!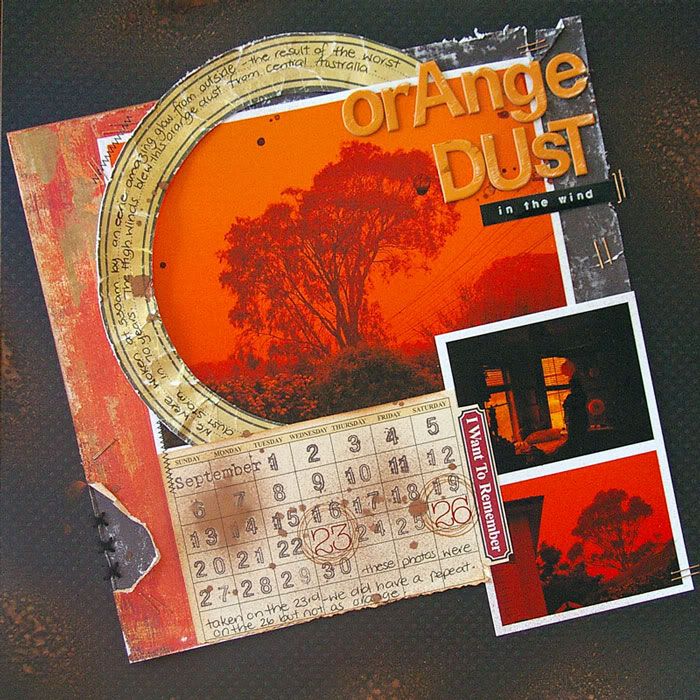
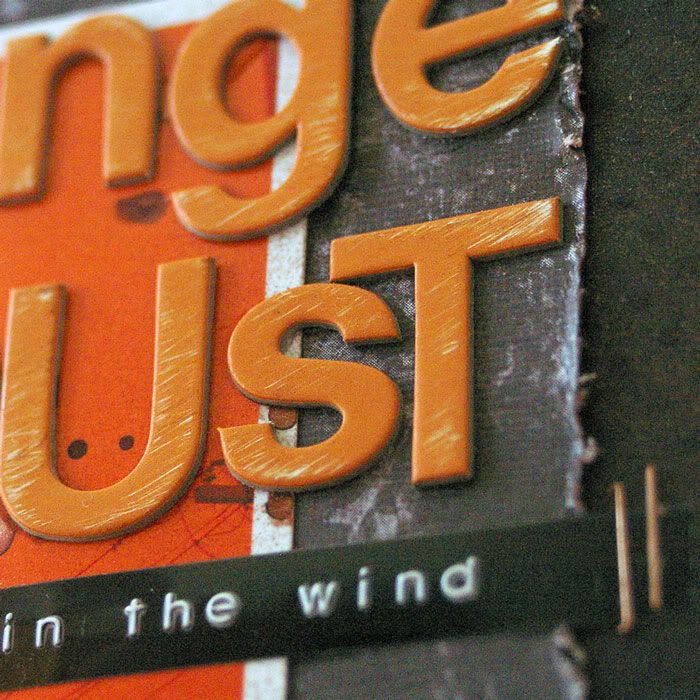
In this layout I have used crumpling, sanding, scraping, tearing, rolling and glimmermist to creat a very dirty aged and hopefully dusty looking layout.
Materials with click and shop links. Bazzill Basics Paper Dotted Swiss Pepper, BasicGrey Ambrosia - Clementine 12x12 patterned paper, Black Market Paper Society Cover Compacts Ebony & Alabaster 6x6 printed paper, Collage Press 12x12 Collage Diecut Rings, Teresa Collins Designs Journal It Collection 12x12 Double Sided Papers , CherryArte Impressions Calendar Stamps, Black Ink, Sepia Ink, Vake Designs Unmounted rubber stamps, Glimmer Mist, American Crafts Rubons, Dymo Labeller, Heidi Swapp Chipboard Alphabet Sheets Lemonade Stand , Staples & embroidery thread.
No comments:
Post a Comment